Winlink Express
Table of contents
Winlink express is a downloadable software for Windows 10 & Windows 11 computers that allows for the sending and receiving of Winlink messages.
Operating System Setup
Winlink Express is only supported on Windows. If you want to use it on an Apple or Linux computer, you will need to run Windows as a virtual machine. You can use VMWare Fusion, Virtual Box, or others. I personally use VMWare Fusion because I have found it to be the most reliable for my circumstances (I use it for more than just Winlink).
Installation
Steps
- Head to the Winlink Express homepage where you can download the latest production version. Click on the download link and a file will download
- Extract the installation file
- Run the installation file
- (optional) Check the box to add a desktop shortcut
- Start Winlink Express
- On first startup the
Winlink Express Propertiesbox will show up - Fill in your Callsign, Password, Password Recovery Email, & Grid Square
- Passwords must be 6-12 characters
- You can fill out the optional contact information
- Click
Updateto save your preferences - If you have not used Winlink before, you need to start a Telnet session in order to finish creating your account.
- On the top of the screen, make sure
Telnet Winlinkis selected
- Click
Open Session - Click
Starton the popup window
- After the session ends, you can click Exit.
- On the top of the screen, make sure
Send a Message
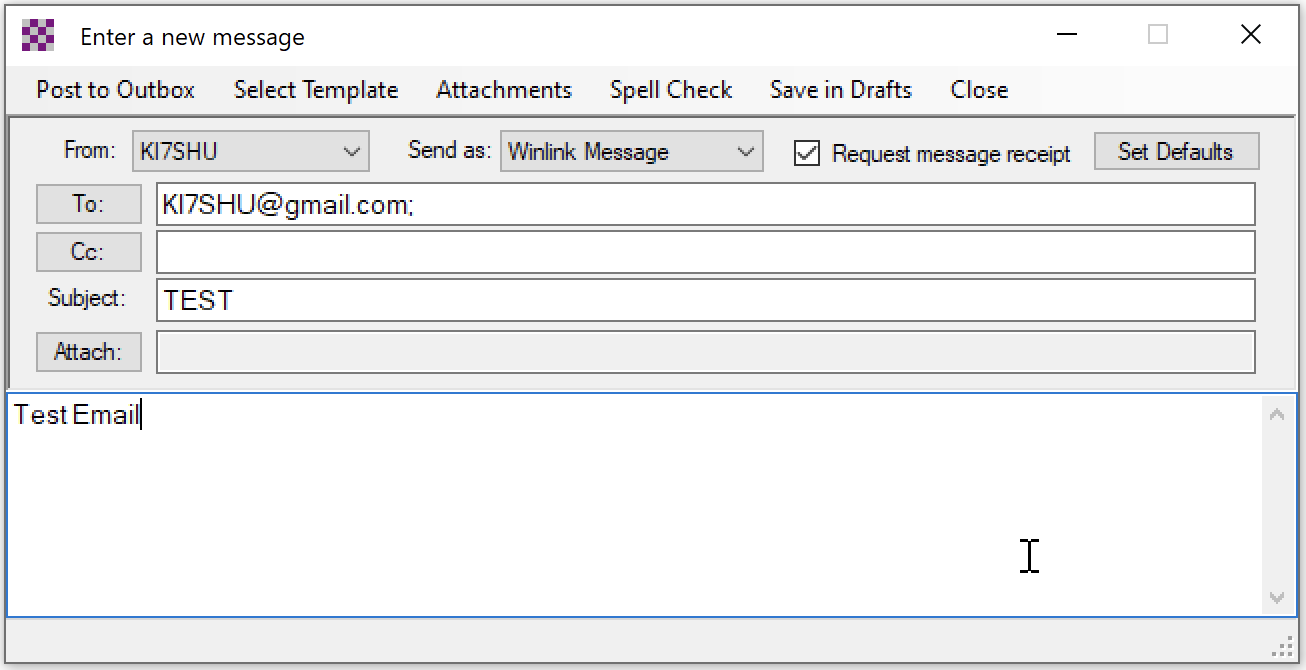
- On the top bar, select
Message > New Messageor click on the New Message Icon.
- Similar to any other email client you have used, you can enter the recipient(s), subject and text.
- You can send emails to any email if you are sending email via the CMS. For example, I can send an email to my Gmail. Make sure you also understand how receiving external emails work. P2P connections should use the callsign or alias of the receiving station. If you are sending email to another Winlink user, you do not need to include an
@or suffix. If I wanted to send a Winlink message to another station,KE7UIA, I would simply enter their callsign in theTo:section. - Click
Select Templateif you have a specific message format that you need to send.
- You can send emails to any email if you are sending email via the CMS. For example, I can send an email to my Gmail. Make sure you also understand how receiving external emails work. P2P connections should use the callsign or alias of the receiving station. If you are sending email to another Winlink user, you do not need to include an
- Once satisfied with your message, click
Post to Outbox

Receive a Message
- Receive a Message (General Winlink Information)